


Email signatures not only add professionalism to your personal or business emails but also play a crucial role in identity verification and providing comprehensive information to recipients. The OneMail service is integrated with a signature feature that allows you to create a personal signature when using the service. Here, iNET will guide you through the detailed steps of using this feature. Let's follow along.
Steps to Use the OneMail Signature Feature
Step 1: First, log in to your OneMail account by entering your login credentials.
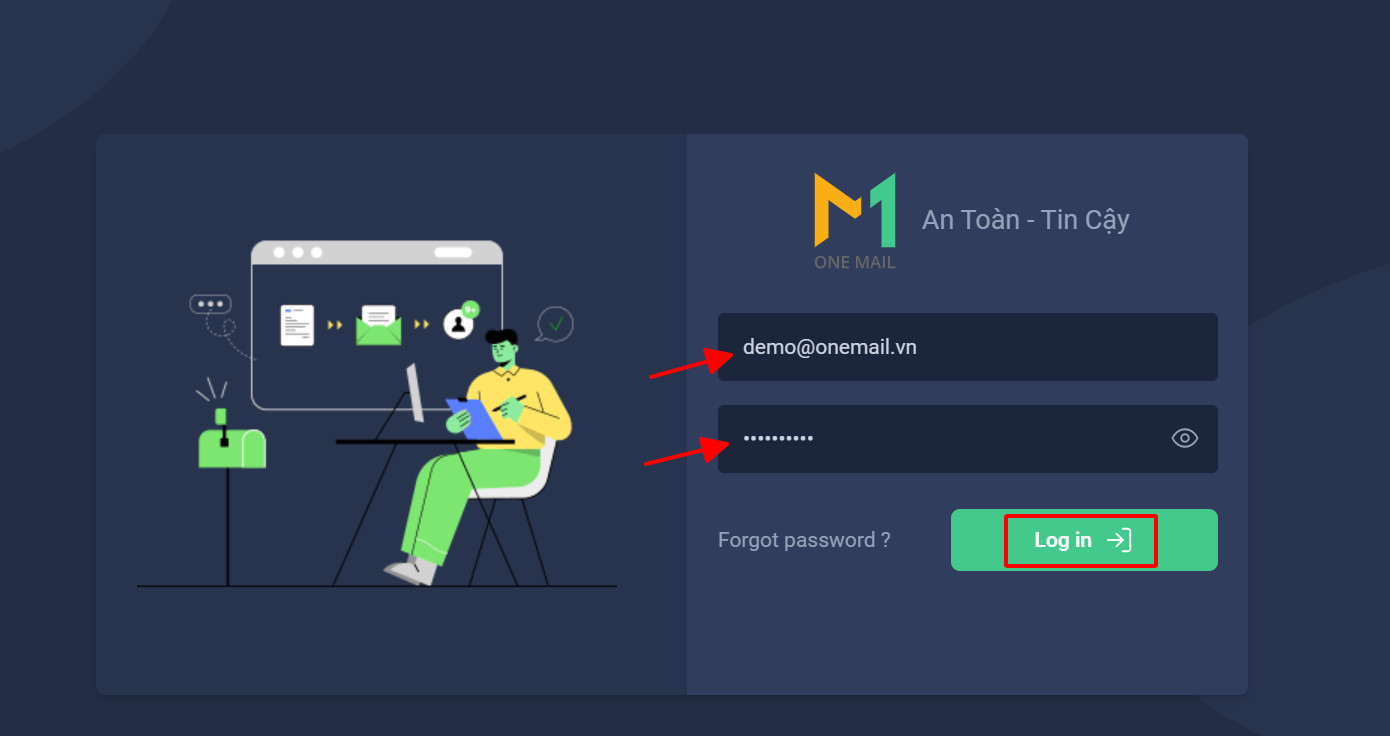
Login Interface
Step 2: After successfully logging in, click on the username icon and select "General Settings."
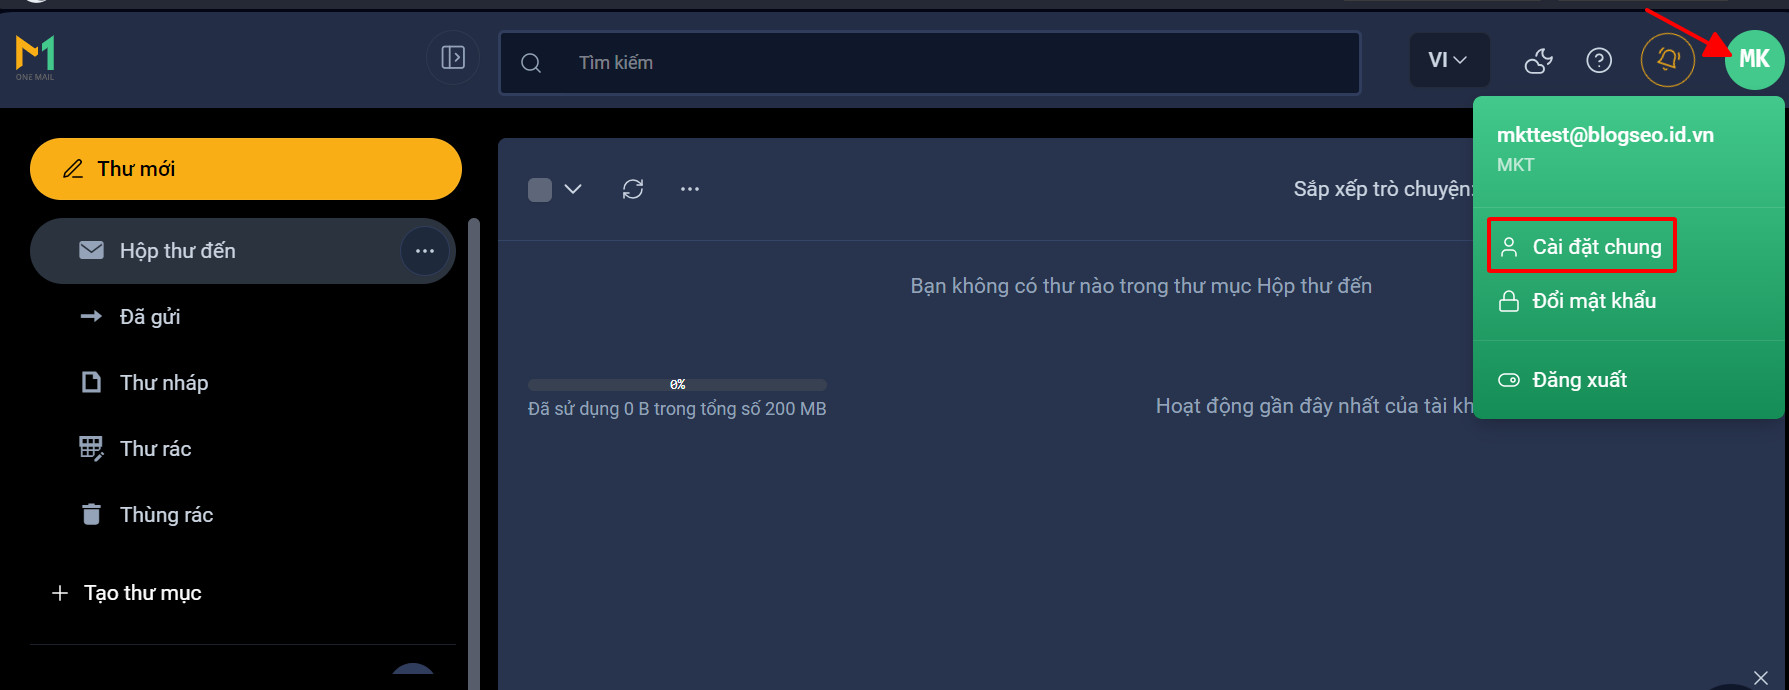
Select General Settings
Step 3: Locate and select the "Signature" feature on the General Settings page.

Signature Settings Interface
Step 4: In the Signature section, you will see an option to add a new signature. Click on "Add Signature."
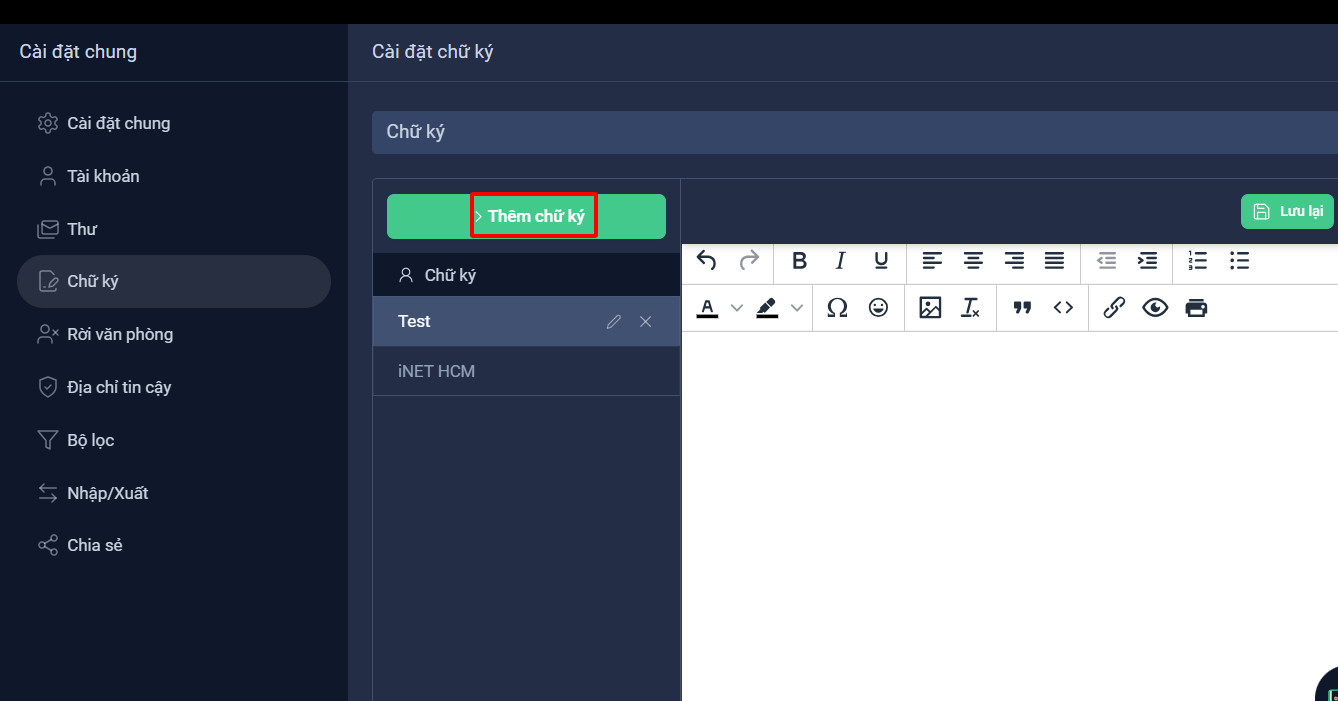
Add Signature
Next, give your new signature a name for easy identification. Then, click "Save Changes" to proceed.
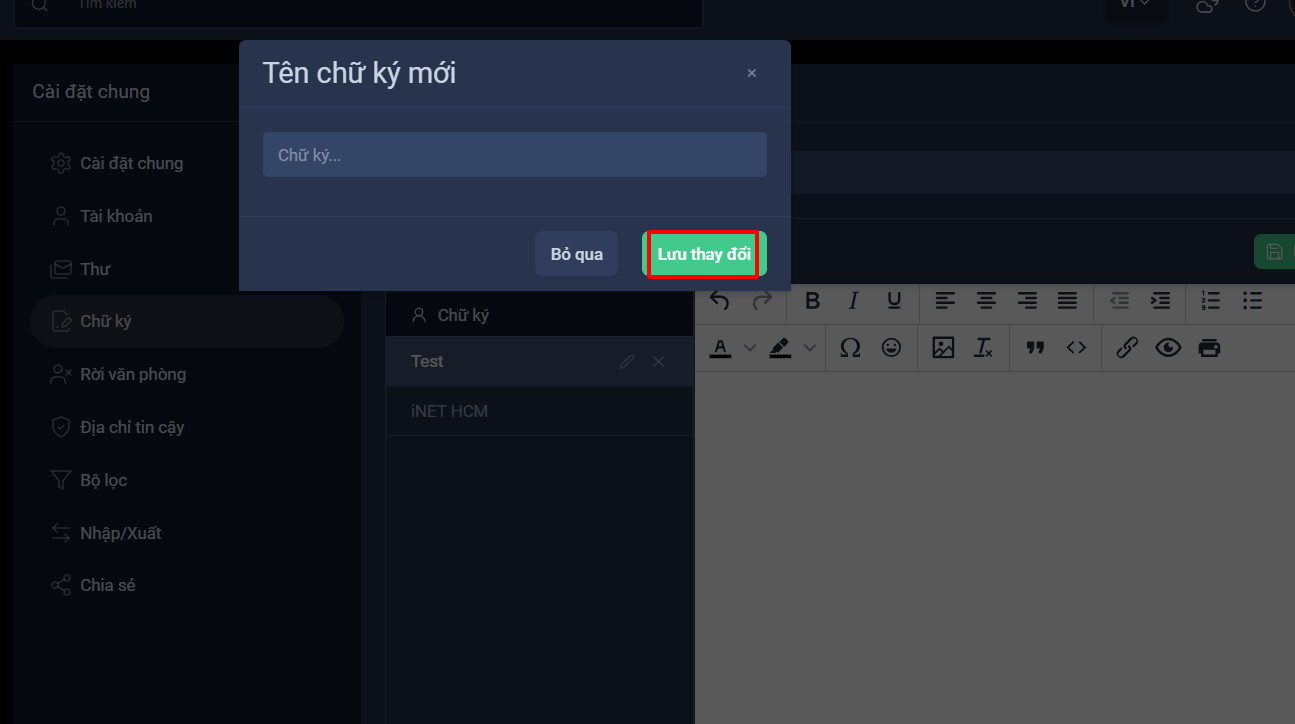
Name Signature
Step 5: In the signature creation interface, use the editor to input your signature content. You can customize the font style, color, and formatting as you wish.
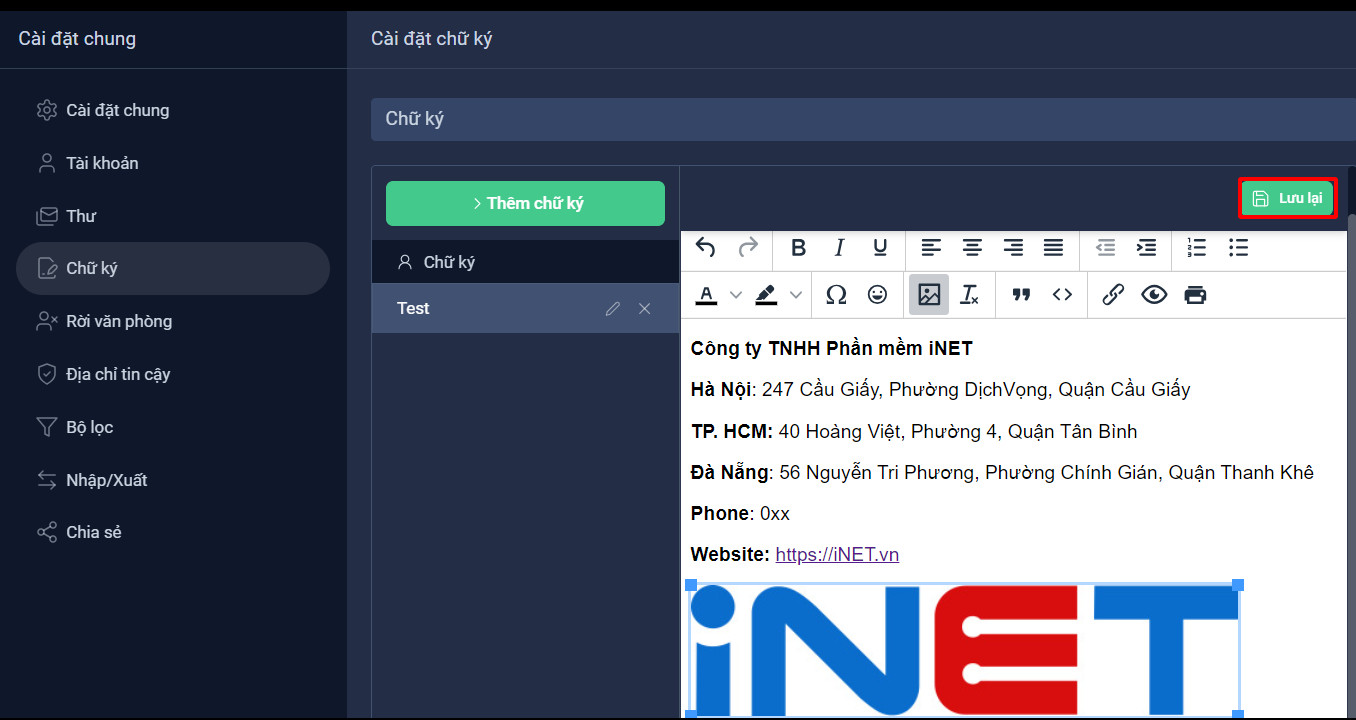
Create Signature
Once you have finished creating your signature, don't forget to click "Save" to apply your new signature.
In the signature usage section, you can choose which signature template you want to display in your emails and where it should appear within the email.
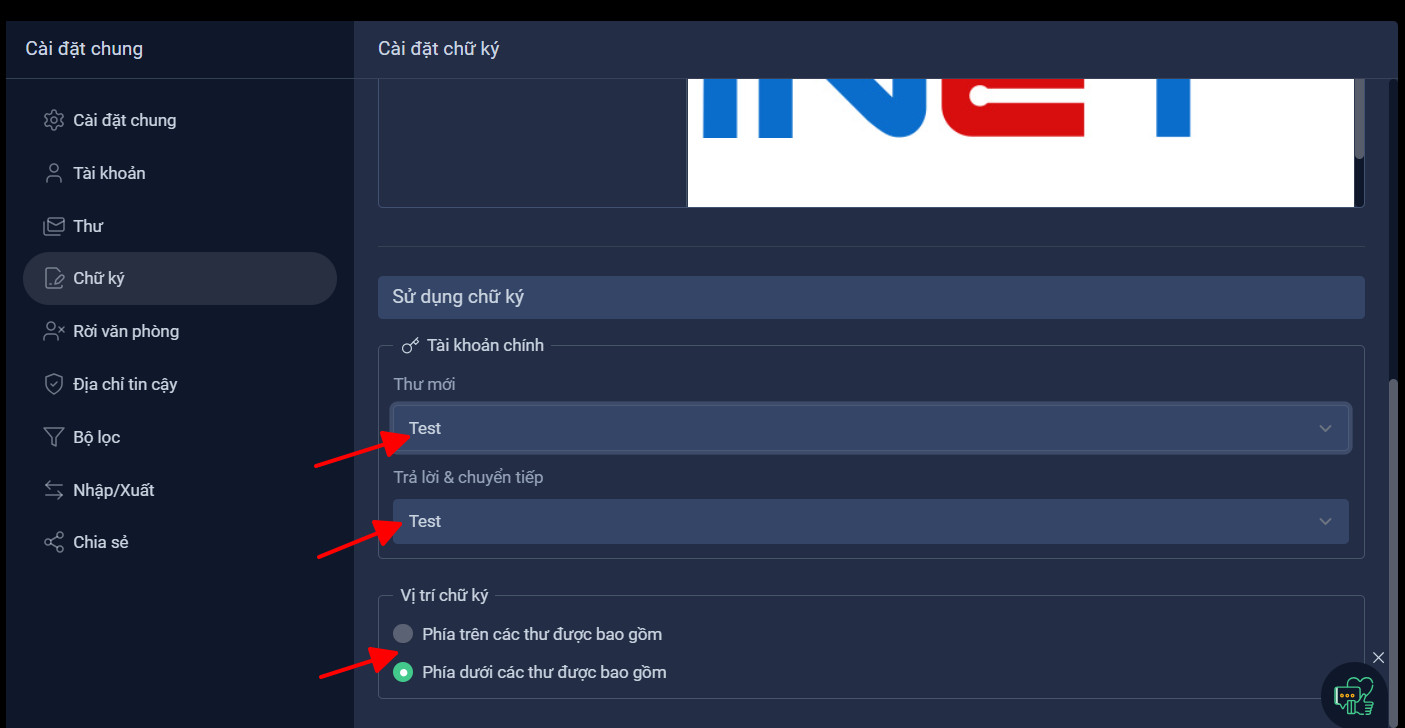
Signature Usage Settings
With these simple steps, you can enjoy the benefits of the OneMail signature feature and add a touch of personalization to every email you send. This helps create a professional impression and enhances your email communication experience.


Share your review